Products You May Like
One of the questions I often get is, “Why are RV’s so ugly?”
Now, the way that something looks is subjective. For every person who asks me that I get others who are genuinely impressed with the way new RVs look. However, I can say that there are plenty of folks out there who want to renovate or change up the interior of their RV and repainting the inside of your RV is a great way to do that.
Here’s what you need to know if you’ve ever wanted to repaint the interior of your RV. It can be a big job, but it’ll go a long way towards making your home-on-the-road feel like a real home.
Spend Most of Your Time on Prepping Your RV
When you think painting, you think about paintbrushes and the actual paint, but the fact of the matter is that you should spend more time prepping your RV than actually painting. Once the RV is prepped and ready to go, the actual painting process goes quickly.
Prep ahead of time and everything will go smoother. You should do things like remove cabinet doors (if you’re painting the cabinets), cover everything you don’t want paint on (floors, furniture, etc.), and clean the area you want to paint extensively.
When cleaning, use TSP or a TSP substitute, mineral spirits, or some other pre-painting cleaner that is residue-free. You need to have the surfaces you want to paint as clean as possible so the primer and paint can spread evenly and adhere well.
Prime First, Paint Second
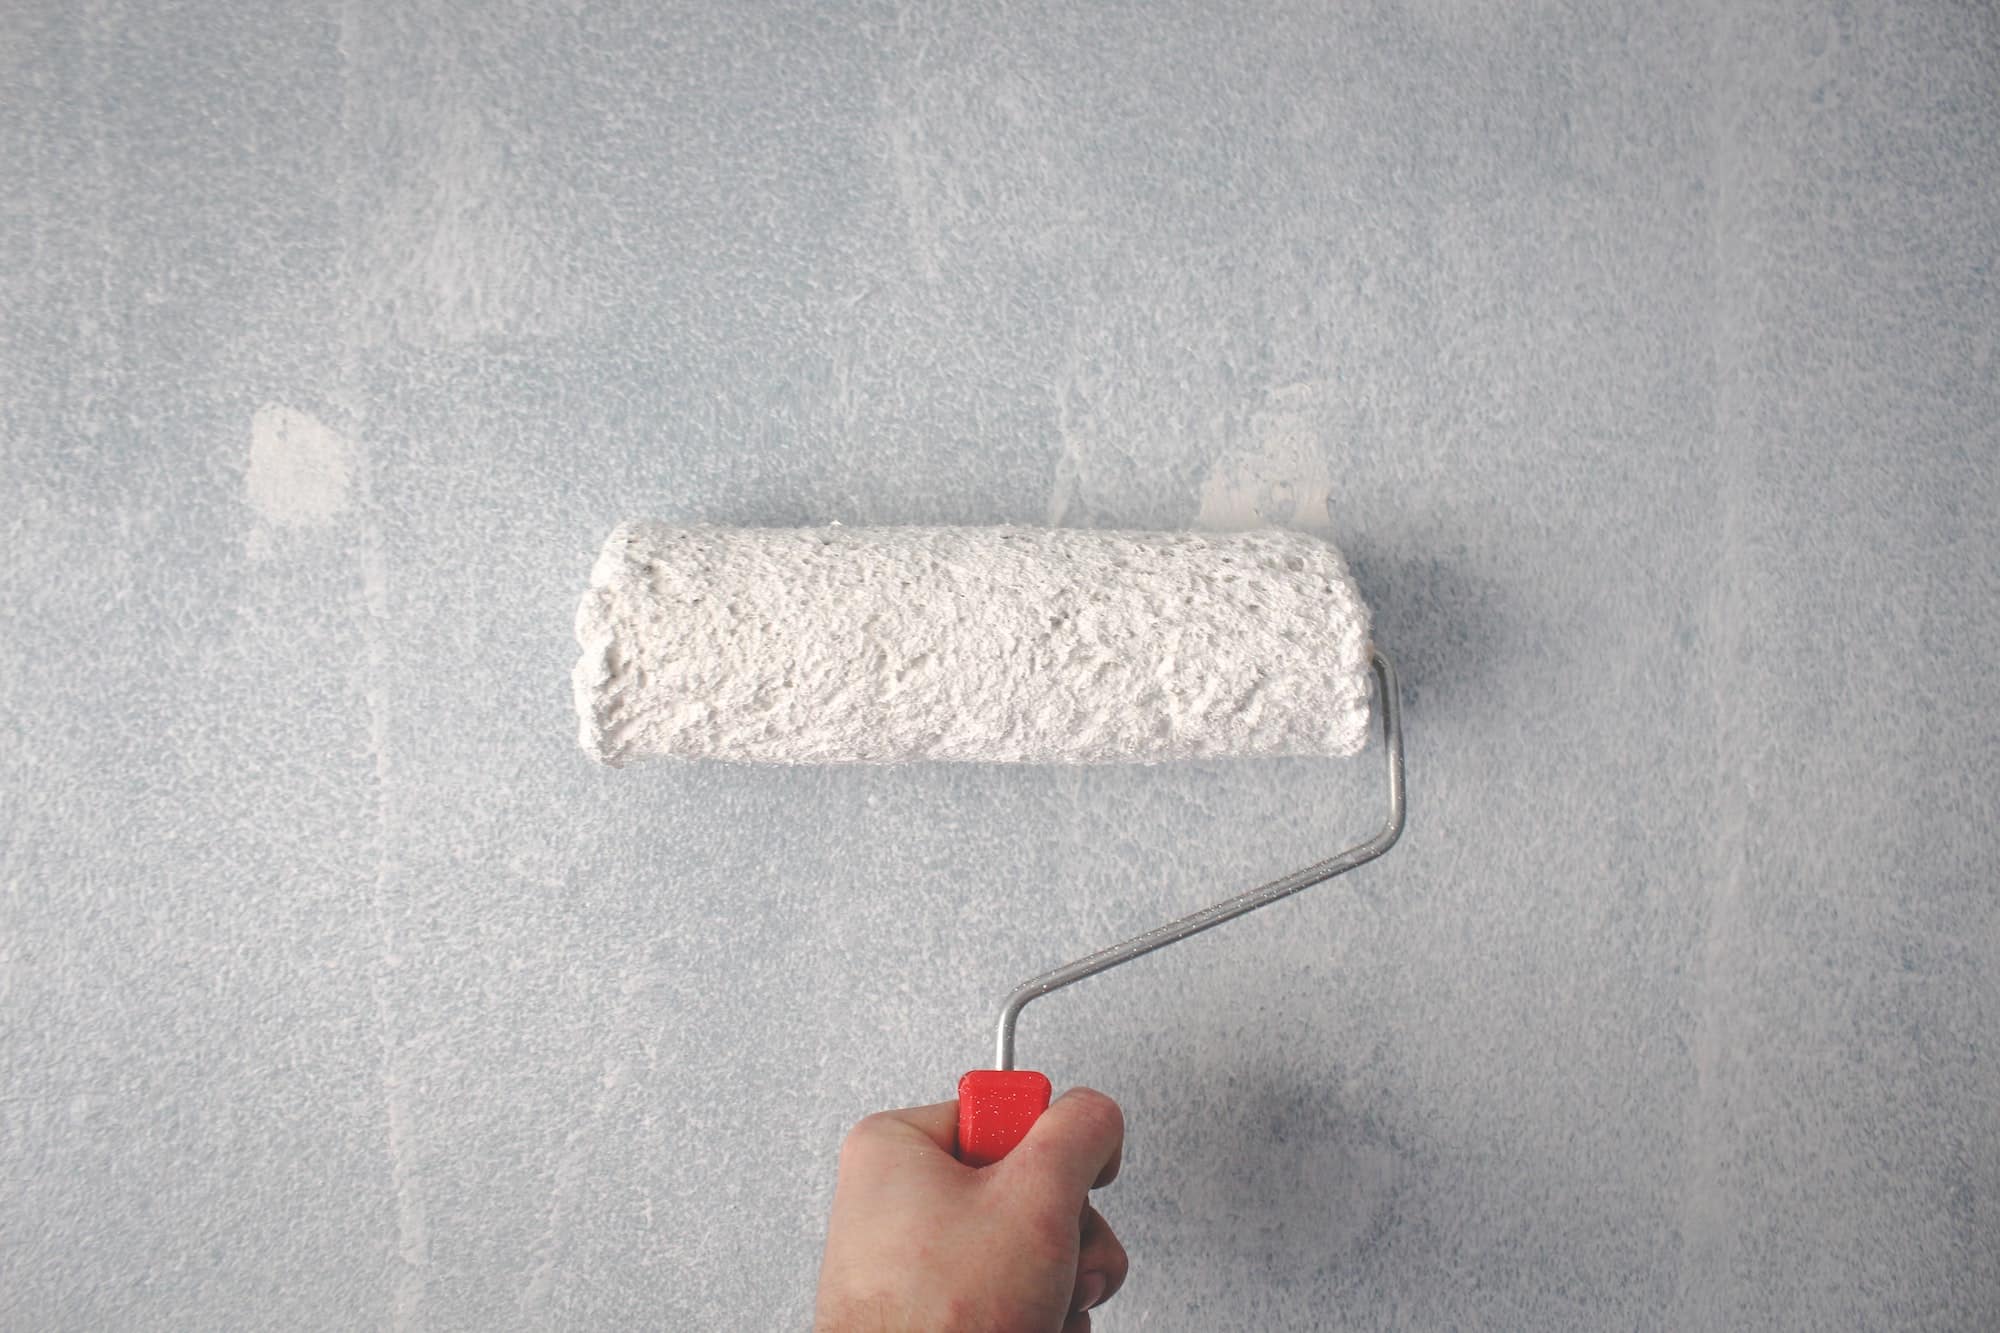
The actual painting process can be done with either a paint sprayer or brushes and rollers. Personally, I like paintbrushes and rollers. The reason is that there’s a fair amount of overspray with a paint sprayer and that can be disastrous if you have things you don’t want to get paint on.
Once you decide what method to use, the first step is priming every single surface that you want to paint. Make sure to fully cover the area with primer and get a low-VOC primer that’s designed to go over wallpaper and laminate walls. Sometimes it will take a little more primer than you expect, so don’t be scared to do multiple coats.
With the interior of your RV primed, you can then begin painting the color of your choice. I would like to advise you to choose high-quality paint. If you cheap out on the paint, it won’t last as long and that could mean you’ll be doing touchups often and maybe the whole entire job again only a short time down the road. High-quality paint will last the longest and look the best.
Take Your Time
Throughout the whole process, it’s important to note that you need to take things slowly when repainting the inside of your RV. The moment you rush is the moment something will go wrong.
Make sure you have plenty of time to get the job done and ask someone for help if you need to. This will help ensure you don’t get too overwhelmed by the project. Repainting can be a tough project to finish, but you’ll be extremely happy once it’s done. Your RV will feel more like home than ever before.
What colors would you like to repaint your RV’s interior? Leave a comment below.


